
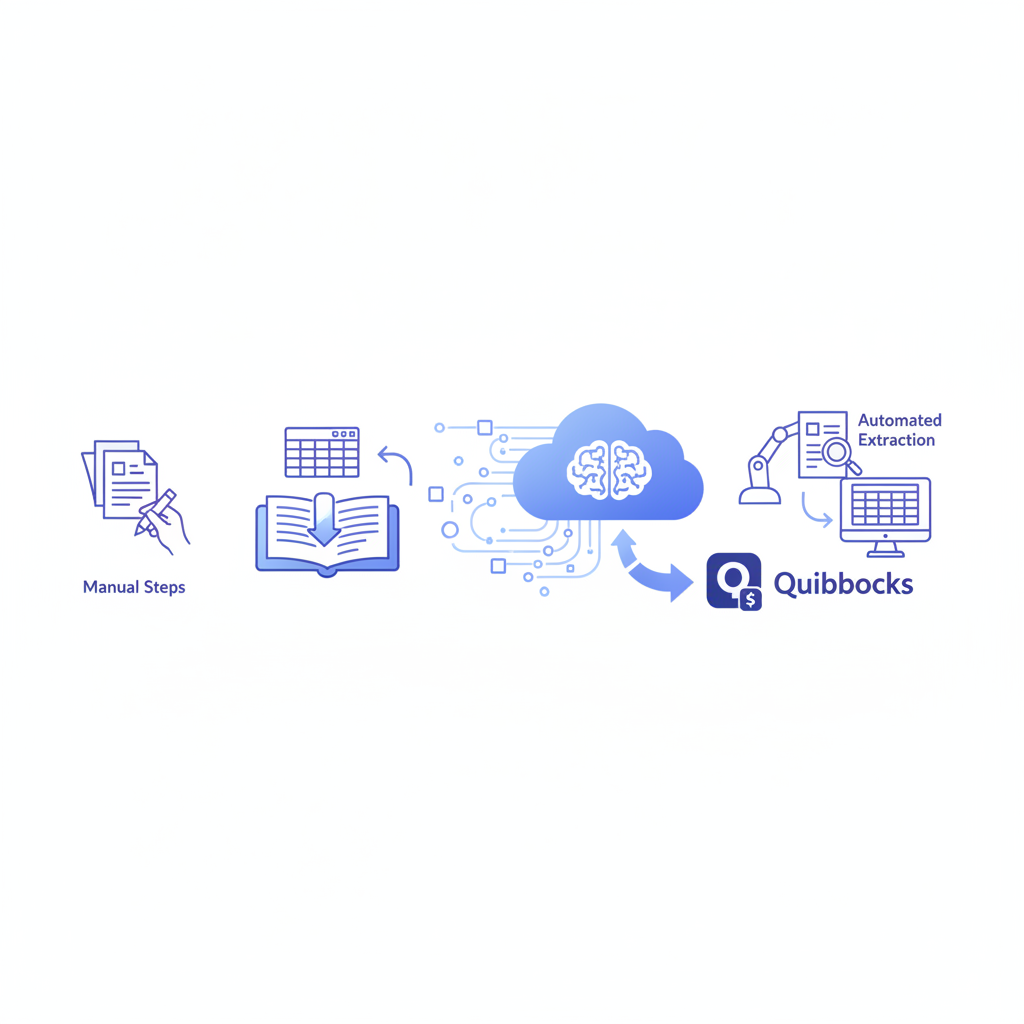
To import invoices into QuickBooks, you have two realistic paths: upload a formatted CSV file through QuickBooks's built-in import tool, or extract invoice data automatically with a tool like Invoscope and push it to QuickBooks via Zapier, skipping manual formatting entirely. The right choice depends on how many invoices you handle and how much time you can afford to spend preparing spreadsheets.
Why QuickBooks Cannot Read Your PDFs Directly
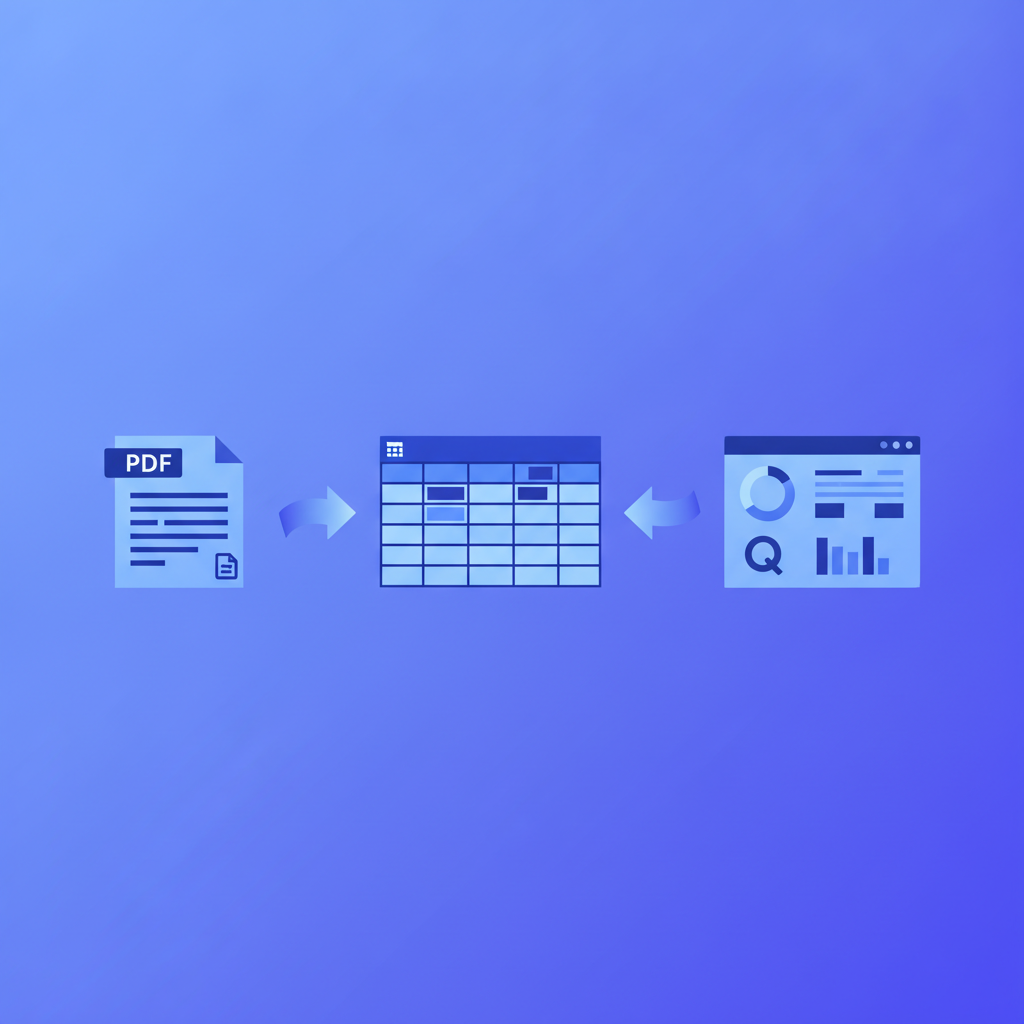
QuickBooks Online does not parse PDF invoices. When a supplier emails you a PDF, QuickBooks cannot open it and extract the vendor name, invoice number, date, line items, or amount. It expects structured data in a specific CSV format, which means someone has to convert the PDF first.
That conversion step is where most of the friction lives. For a handful of invoices per month it is annoying but manageable. For 50 or 500, it becomes a part-time job, and the error rate on manual keying typically runs between 1 and 4 percent, according to industry benchmarks, which is enough to cause reconciliation headaches downstream.
Method 1: The Manual CSV Import
QuickBooks Online supports importing vendor bills and customer invoices through its native import tool. Here is the full sequence.
Step 1: Download the QuickBooks CSV Template
Inside QuickBooks Online, go to Expenses, then Bills (for vendor bills) or Invoices for customer invoices. Click the small import icon and choose Import. QuickBooks will offer you a sample CSV file. Download it. The column headers are exact: QuickBooks will reject the import if column names are misspelled or in the wrong order.
Step 2: Fill in the Required Columns
The minimum required fields for a vendor bill import are:
- Vendor: must match a name already in your QuickBooks vendor list exactly
- Bill Date: formatted as MM/DD/YYYY in most regional settings
- Due Date
- Bill Number
- Account: the expense account or GL code you are posting to
- Line Item Amount
- Description (optional but recommended)
If your invoice has multiple line items, each line gets its own row in the CSV, with the vendor and bill number repeated on every row so QuickBooks groups them under a single bill.
Step 3: Upload and Map Columns
Back in the QuickBooks import tool, upload your CSV. QuickBooks will show a column-mapping screen where you match your column headers to QuickBooks fields. If you used the official template, this is automatic. Click Import and QuickBooks will process the file, flagging any rows with unrecognized vendor names or missing required fields.
Step 4: Fix Errors and Resubmit
QuickBooks stops on the first batch of errors. Common problems include vendor names that do not match the vendor list (even a trailing space breaks the match), date formats in the wrong locale, and account names that differ from your chart of accounts. Fix these in your spreadsheet, re-upload, and repeat.
How Long Does This Take?
Opening a PDF, reading the fields, typing them into the CSV, and fixing import errors takes roughly 5 to 10 minutes per invoice for someone experienced with the template. At 50 invoices a month that is 4 to 8 hours, every month, before any accounting work has actually started.
Method 2: Automated Extraction with Invoscope and Zapier
Invoscope is an AI invoice data extraction tool powered by Google Gemini. It reads any PDF invoice and returns structured fields (vendor, date, invoice number, line items, amounts, tax, currency) in about 5 seconds per invoice, with 99.2% accuracy across a benchmark of 5,000 invoices. You then connect Invoscope to QuickBooks through Zapier, so every extracted invoice flows in automatically without any CSV formatting.
This path is covered in detail in our step-by-step Zapier invoice automation guide, but here is how it works specifically for QuickBooks.
Step 1: Extract Invoice Data in Invoscope
Upload a PDF (or a batch of PDFs using Smart Projects) to Invoscope. The AI reads each document without any template setup. Within seconds you get a structured output with every field labeled. For one-off invoices, the Quick Analyze mode is fastest. For recurring batches from the same suppliers, Smart Projects organizes extractions into named folders and keeps a running export you can download at any time.
Step 2: Export or Connect via API
Invoscope exports to CSV or JSON. For manual-but-faster QuickBooks imports, you can download the CSV and paste it directly into the QuickBooks template, since all the fields are already extracted and labeled. This alone cuts the per-invoice time from 5 to 10 minutes to under 1 minute.
For full automation, use the Invoscope API with Zapier. When a new extraction completes in Invoscope, Zapier triggers and creates a bill or invoice record in QuickBooks Online using the extracted fields as the payload.
Step 3: Set Up the Zapier Zap
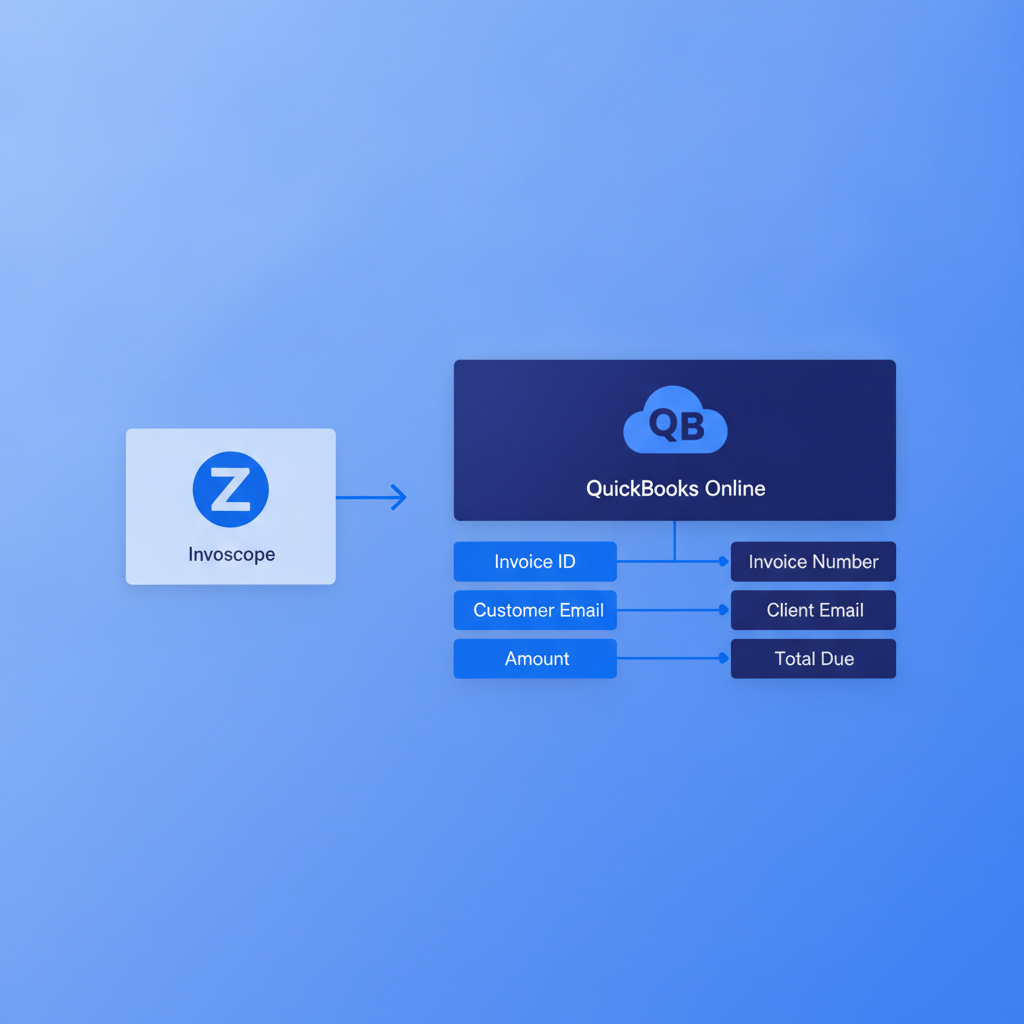
In Zapier, create a new Zap with the trigger set to Invoscope: New Extraction Completed. The action is QuickBooks Online: Create Bill (or Create Invoice for outbound invoices). Map the Invoscope output fields to the QuickBooks fields:
- Invoscope
vendor_namemaps to QuickBooks Vendor - Invoscope
invoice_datemaps to QuickBooks Bill Date - Invoscope
due_datemaps to QuickBooks Due Date - Invoscope
invoice_numbermaps to QuickBooks Bill Number - Invoscope
total_amountmaps to QuickBooks Amount
Turn the Zap on. From this point, every invoice you upload to Invoscope will appear as a bill in QuickBooks within a minute or two, with no manual data entry at all.
Step 4: Handle Line Items (Advanced)
QuickBooks supports multi-line bills through the Zapier integration using line-item arrays. Invoscope extracts full line-item tables including description, quantity, unit price, and total. In Zapier, use the Line Items option in the QuickBooks action and map each array element from the Invoscope extraction. This is the same workflow covered in our Zapier step-by-step guide, which walks through the exact Zapier field mapping for line items.
Method Comparison
| Factor | Manual CSV Import | Invoscope plus Zapier |
|---|---|---|
| Time per invoice | 5 to 10 minutes | Under 1 minute (mostly automated) |
| Setup required | Download template, format CSV | One-time Zapier Zap setup (30 to 60 minutes) |
| Accuracy | Dependent on human keying (1 to 4% error rate typical) | 99.2% extraction accuracy |
| PDF handling | Manual reading and transcription | AI reads any PDF format automatically |
| Line item support | Yes, but each row entered manually | Yes, extracted automatically and mapped via Zapier |
| Cost | Your time only | Invoscope from $9.99/month (free tier: 10 invoices/month), plus Zapier plan |
| Scales to 100+ invoices/month | Difficult, error-prone | Yes, batch processing with Smart Projects |
| Credit card to start | No | No (Invoscope free tier requires no credit card) |
Which Method Should You Use?
If you receive fewer than 10 invoices a month, the manual CSV method is free and workable, though still tedious. Invoscope's free tier covers exactly 10 invoices per month with no credit card required, so you can test automated extraction at zero cost and see whether the time saving is worth upgrading.
If you handle more than 20 invoices a month, the math shifts quickly. At $9.99 per month for Invoscope's entry plan, you are paying well under $0.50 per invoice to eliminate data entry entirely. The full pricing breakdown shows how each tier scales, so you can match a plan to your actual volume before committing.
For teams processing 100 or more invoices monthly, the automated Invoscope-to-Zapier path is the only sensible choice. The manual method at that scale costs dozens of hours of staff time and introduces enough keying errors to generate recurring reconciliation work on top of the original entry work. That is a cost worth measuring carefully, and our complete guide to automating invoice processing covers the full ROI calculation.
A Note on QuickBooks Desktop vs QuickBooks Online
The import tool described above is for QuickBooks Online. QuickBooks Desktop (Pro, Premier, Enterprise) has a different import path using IIF files or the built-in import wizard under File then Utilities then Import. The Zapier integration connects specifically to QuickBooks Online. If you are on Desktop, the Invoscope CSV export is still useful: download the extracted data and paste it into the Desktop import wizard, which saves the manual reading and keying steps even without full automation.
Frequently Asked Questions
Can I import PDF invoices directly into QuickBooks?
No. QuickBooks Online does not parse PDFs natively. You need to convert the PDF to a formatted CSV first, or use an AI extraction tool like Invoscope to extract the data and push it to QuickBooks via Zapier automatically.
What CSV format does QuickBooks require for importing bills?
QuickBooks Online requires specific column headers that match its field names exactly. The safest approach is to download the sample CSV template from within the QuickBooks import tool and use those exact headers. Required columns include Vendor, Bill Date, Due Date, Bill Number, Account, and Amount. Each line item on a multi-line bill needs its own row with the vendor and bill number repeated.
How accurate is Invoscope when extracting invoice data for QuickBooks import?
Invoscope achieves 99.2% field-level accuracy across a benchmark of 5,000 invoices, processing each document in about 5 seconds. This is significantly more reliable than manual keying, which typically produces a 1 to 4% error rate on straightforward invoices and higher rates on complex layouts with many line items.
Do I need a paid plan to try the Invoscope-to-QuickBooks workflow?
No. Invoscope offers a permanent free tier of 10 invoice extractions per month with no credit card required. You can set up the full Zapier integration and test it end-to-end using the free tier before deciding whether a paid plan at $9.99 per month or above makes sense for your volume.
Does Invoscope extract line items, or just header fields like total and date?
Invoscope extracts full line-item tables including item description, quantity, unit price, tax, and line total, in addition to header fields like vendor name, invoice number, date, and totals. These line items can be mapped to QuickBooks bill line items through the Zapier integration, so multi-line invoices import cleanly without any manual row-by-row entry.
Start Importing Invoices Without the Manual Work
The manual CSV method works, but it scales poorly and depends on accurate human transcription from PDFs that were never designed to be retyped. If you want to cut invoice import time to under a minute per document and stop worrying about keying errors, Invoscope is the faster path. The free tier gives you 10 extractions a month at no cost and no commitment, which is enough to run a real test against your actual supplier invoices before you spend a cent.
Create your free Invoscope account and import your first invoice into QuickBooks today.
Related reading: What Is E-Invoicing? Standards, Requirements, and What It Means for Your AP Workflow