
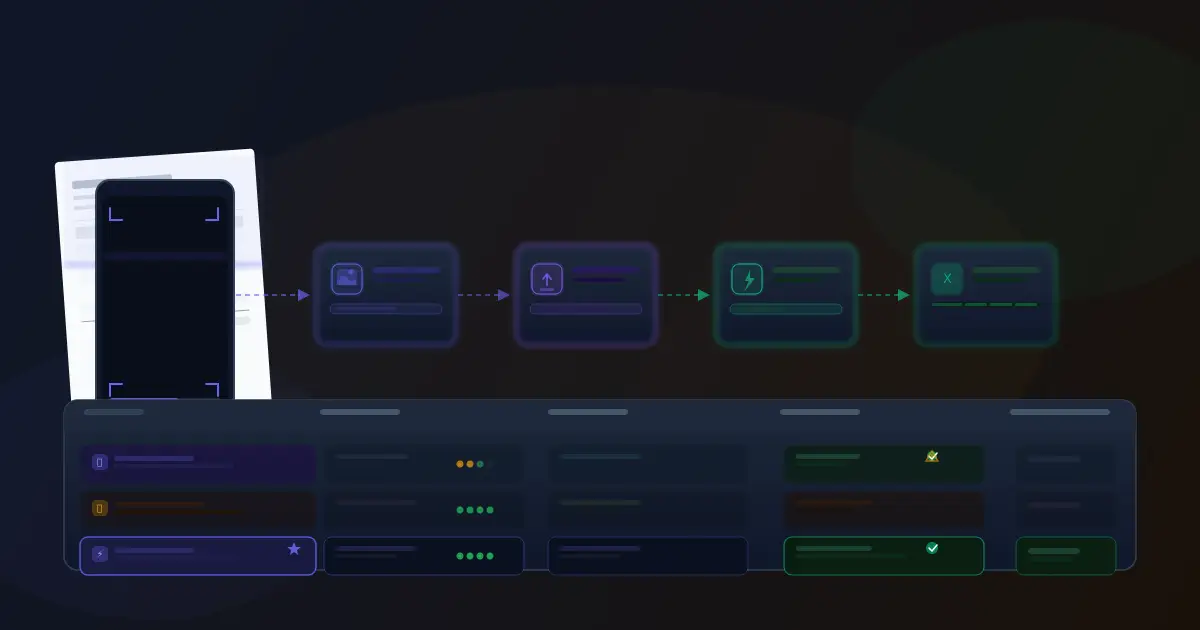
To digitize paper invoices, scan or photograph each one into a clear PDF or image file, then run that file through an AI extraction tool that reads the vendor, invoice number, dates, line items, and totals and turns them into structured data you can export to Excel. Invoice scanning is only the first half of the job: the real payoff comes when the scanned file becomes searchable, sortable data instead of a picture of a page.
Updated October 2026.
Paper invoices are a data extraction problem with an extra step. Before any software can read the invoice, the physical document has to become a digital file. Once it is digital (a PDF, JPG, or PNG), the same AI extraction tools that handle native digital invoices can read it, pull every field, and produce structured Excel data. The gap between a paper invoice and usable data is smaller than most businesses assume.
This guide covers four digitization methods in order of effort and accuracy, a practical section on invoice scanning (scanner settings, phone capture, batching, and file naming), a step-by-step walkthrough of the scan-to-data workflow using Quick Analyze and Smart Projects, and tips for reducing paper invoice volume over time.
Why Digitizing Paper Invoices Matters Beyond Storage
The obvious reason to digitize paper invoices is archiving: having a searchable digital record instead of a filing cabinet. But the more valuable reason is what becomes possible once the invoice is digital, which is automated data extraction. In accounting terms this whole process is called invoice digitization.
A paper invoice sitting in a folder requires someone to read it and retype every field into a spreadsheet or accounting system. The same invoice scanned to a file and uploaded to an AI extraction tool produces structured data (vendor name, invoice number, date, line items, totals) in approximately 5 seconds. The scan step adds 30 to 60 seconds. Total time from paper to Excel: under 2 minutes, versus 10 to 15 minutes for manual entry.
At any volume above 10 to 15 paper invoices per month, the extraction savings alone justify building a scanning workflow. At higher volumes, the difference compounds significantly. See the full cost analysis in Invoice Data Extraction: Methods & Best Practices.
4 Methods for Digitizing Paper Invoices
Method 1: Smartphone Scanning App
Modern smartphone cameras paired with a dedicated scanning app produce PDF or high-resolution JPG files that AI extraction reads reliably. The key is using an app with automatic edge detection and perspective correction, which eliminates the common problems (skew, shadow, background noise) that degrade scan quality and reduce extraction accuracy.
Recommended apps: Adobe Scan (free, automatic edge detection, saves to PDF), Microsoft Lens (free, integrates with OneDrive, good perspective correction), and the Apple Notes or iPhone Files built-in scanner (free, iOS only, quick for low volume). All three produce files suitable for AI extraction without any additional processing.
When it works best: Low-to-medium volume (under 50 invoices/month), remote or field-based receipt of invoices, or when a dedicated scanner is not available at the point of receipt. Quality is generally sufficient for standard invoice formats.
Limitation: Throughput. Scanning individual invoices one by one with a smartphone works at low volume but becomes a bottleneck above 30 to 40 invoices per month. At that point, a desktop scanner with an automatic document feeder is faster.
Method 2: Desktop Scanner with OCR
A flatbed or sheet-feed scanner paired with OCR software is the traditional office digitization setup. Scanners with an automatic document feeder (ADF) can process 20 to 50 pages unattended: load the stack, walk away, return to a folder of PDFs. OCR software then attempts to extract text from each scanned file.
The quality ceiling of this approach is the OCR itself. Traditional OCR does well on clean, standard invoice formats but struggles with complex tables, handwritten annotations, or non-standard layouts. OCR tools extract text but do not understand document structure, so they can miss the relational logic of a line-item table and produce output that needs cleanup before it is usable. For a deeper explanation of the difference, read What Is Invoice OCR and How Does It Work.
When it works best: High volume (50+ invoices/month) of consistent, clean invoice formats from a small number of known vendors. The ADF throughput advantage is significant at scale.
Limitation: OCR accuracy on line items and complex layouts. If you need granular line-item data rather than just header fields, OCR output often requires manual correction, which partially defeats the purpose of automation.
Method 3: Scan to File + AI Extraction (Recommended)
The most effective approach for most businesses: scan the paper invoice to a clear PDF or high-resolution image using any scanner or smartphone app, then upload the file directly to an AI extraction tool. The AI reads the scanned page itself, not just a text layer, and extracts fields based on a visual understanding of the invoice layout. No templates per vendor are needed.
In Invoscope, the two modes accept slightly different inputs, so it helps to know which to use. Quick Analyze handles one invoice at a time and takes PDF files: export your scan as a PDF and you get vendor name, invoice number, date, line items, and totals in approximately 5 seconds. Smart Projects handles batches with custom columns and also accepts JPG and PNG images, so photos straight from a phone or an image-only scanner work there without conversion. Invoscope measured 99.2% field accuracy on a 5,000-invoice benchmark across 12 formats and 6 languages (see the accuracy benchmark); a clean scan gets you closest to that number.
This approach combines the scanning flexibility of Method 1 or 2 with the extraction accuracy of AI rather than traditional OCR. The scanner or app handles digitization; the AI handles data extraction. The two steps are independent, so any scanning setup that produces a reasonably clear file works as input.
When it works best: Any volume, any format. This is the recommended default for businesses that receive a mix of paper and digital invoices and want a single extraction workflow that handles both. If you are still choosing a tool, our guide to the best invoice parser for small businesses compares the options.
Method 4: Vendor Self-Service Portals
A different approach to the paper invoice problem: eliminate it at the source. Many accounting and invoicing platforms (QuickBooks, Xero, FreshBooks, Zoho Invoice) let you create a vendor portal or invoice submission link where your suppliers enter or upload invoices directly in digital format. You receive a digital invoice instead of a paper one, with no scanning required.
When it works best: Businesses with a manageable number of recurring vendors who are willing to adopt a portal workflow. Works well for established supplier relationships where you have influence over invoice format.
Limitation: Requires vendor adoption. Some suppliers, particularly small or informal vendors, will not use a portal and will continue sending paper regardless. This method works as a complement to scanning workflows, not a replacement.
How to Scan Invoices: A Practical Invoice Scanning Setup
Invoice scanning is the process of converting a paper invoice into a digital file, usually a PDF or image, so it can be stored, searched, and read by extraction software. The settings below are the ones that matter most for getting clean data out the other end.
Scanner Settings
- Resolution: 300 dpi. This is the sweet spot for invoices: sharp enough for small print and table borders, small enough to upload quickly. Go to 400 dpi only for very small fonts (below 8pt) or faded thermal paper. Anything under 200 dpi starts to blur digits like 3, 5, and 8.
- Color mode: color or grayscale. Avoid pure black-and-white (1-bit) mode. It throws away the contrast gradients that separate light text, stamps, and shaded table rows from the background. Grayscale is a good default and keeps files smaller than color.
- File format: PDF. PDF is the most portable choice and works in both Quick Analyze and Smart Projects. If your scanner offers a "searchable PDF" option you can enable it, but AI extraction does not depend on it.
- One invoice per file. If an invoice has several pages, keep them together in one multi-page PDF. Do not combine different invoices into the same file, or the extracted fields will mix.
- Double-sided: turn on duplex scanning only if your vendors print terms or line items on the back; otherwise it doubles file size with blank pages.
Phone Capture Tips
- Flat: lay the invoice on a flat surface and press out fold lines. A curled page bends rows of numbers and confuses table reading.
- Even light: use diffuse overhead light or a bright window, not a single desk lamp. Turn off the flash if it creates a glare spot.
- Whole page: capture all four edges with a little margin. Totals usually sit in the bottom corner and vendor details at the top, which are exactly the areas aggressive cropping cuts off.
- No shadows: hold the phone directly above the page, parallel to it, so your hand and phone do not cast a shadow across the text.
- Contrast: a plain, darker background behind a white invoice helps the app detect edges.
- Check the preview before saving. Retaking a blurry shot takes 5 seconds; fixing bad data later takes much longer.
Batching
Scanning invoices as they arrive feels responsive but fragments your day. Collect paper invoices in a single tray and scan them in one session, weekly or twice a week depending on volume. With a sheet-feed scanner, load the stack, scan to a folder, and then upload the whole folder to a Smart Projects batch so extraction also happens in one pass. Mark or stamp each paper invoice as "scanned" so nothing gets processed twice (a common source of a duplicate invoice).
File Naming
A consistent naming pattern makes your archive searchable without opening files. A simple format that sorts well is YYYY-MM-DD_Vendor_InvoiceNumber.pdf, for example 2026-10-14_AcmeSupply_INV-20419.pdf. Put the date first so files sort chronologically, avoid spaces and special characters, and store files in folders by year and month. If you do not know the invoice number at scan time, name the file by date and vendor, then rename it after extraction gives you the number.
From Scan to Data
Once the files exist, extraction is the step that turns them into something useful. Upload single PDFs to Quick Analyze, or a batch of PDFs and phone photos (JPG/PNG) to Smart Projects, and export the results to Excel, CSV, or JSON. The step-by-step workflow below walks through it.
Step-by-Step: From Paper Invoice to Excel Data
The following workflow uses a smartphone scan and Invoscope: the fastest path from paper to structured data, with no dedicated scanner hardware required.
Step 1: Scan the invoice to a clear file. Open Adobe Scan, Microsoft Lens, or your phone's built-in document scanner. Lay the invoice flat on a dark, non-reflective surface. Photograph the entire document including all edges. Let the app apply automatic edge detection and perspective correction. Export as a PDF (or a high-resolution JPG if you plan to use Smart Projects), at 300 dpi where the app lets you choose. Name the file with date, vendor, and invoice number for traceability (for example, 2026-03-15_VendorABC_1042.pdf).
Step 2: Upload to Invoscope. Log in to your Invoscope account. For a single invoice, open Quick Analyze and drag in the PDF. For a stack of scans, or if your files are JPG or PNG photos, create a Smart Projects batch and upload them together. No template setup is required, and any invoice format works without configuration. If you do not have an account yet, create a free account: the free plan includes 10 invoices per month with no credit card required.
Step 3: Review the extracted data. In approximately 5 seconds per invoice, the AI returns the extracted fields: vendor name and address, invoice number, date, due date, line items with quantities and amounts, subtotal, tax, and total. Review each field on screen. On clean scans of standard formats most invoices need no corrections; fields that do need a look are typically very small text or unusual layouts. If an extraction fails outright, the invoice is refunded to your quota.
Step 4: Export to Excel. Select which fields and line items to include in your export and download the structured Excel file (CSV and JSON are also available), with each extracted field in its own column. The exported data is ready to paste into your accounting system, expense report, or tracking spreadsheet without reformatting.
Step 5: Archive the original scan. Store the original scanned file alongside your Excel export. Invoscope processes invoices in memory and does not store them permanently, so your own archive is the system of record. Cloud storage (Google Drive, Dropbox, OneDrive) organized by year, month, and vendor gives you a searchable digital archive that replaces physical filing. The scanned file is your source document if a reconciliation question comes up later.
Scan Quality Tips That Directly Affect Extraction Accuracy
AI extraction from scanned files is forgiving, but scan quality still matters. A few habits consistently improve results.
Flat surface, even lighting, no shadows. The most common scan quality problem is uneven lighting: a shadow from your hand or from the document's own fold creating a gradient across part of the invoice. Place the invoice completely flat on a white or dark surface. Scan under even overhead lighting rather than directional desk lamp light. Most phone scanning apps correct for this automatically, but the correction works better when the original image has less distortion.
Capture the full document including margins. Edge-detection algorithms occasionally crop too aggressively, cutting off fields near the document edges, typically the totals in the bottom-right corner or the vendor details in the top-left. After scanning, verify the preview shows the complete document before saving.
300 dpi minimum. Most modern phone cameras and scanning apps default to 300 dpi or higher, which is sufficient for AI extraction. If your scanner app has manual resolution settings, set it to at least 300 dpi. Very small font sizes (below 8pt) may benefit from 400 dpi, but this is uncommon on standard invoices.
Straighten folded or crumpled invoices before scanning. Invoices that arrived by mail often have fold creases that cast shadows. Press the invoice flat before scanning; a second or two of pressing with your palm usually suffices. For heavily crumpled invoices, place them under a book for a few minutes before scanning.
Use grayscale or color, not black-and-white. Black-and-white (1-bit) scanning loses the contrast gradients that help distinguish text from background on low-contrast invoices. Grayscale captures more information and usually produces smaller files than color while maintaining enough contrast for reliable extraction. Most apps default to color, which works fine.
Going Paperless: Reducing Paper Invoices at the Source
The best long-term approach to paper invoice digitization is to have fewer paper invoices to digitize. Practical steps that eliminate paper at the source:
Contact your paper invoice vendors and request digital delivery. A short, direct email to their accounts receivable contact ("We're moving to a digital invoice workflow. Could you please send invoices as PDF attachments to invoices@yourcompany.com going forward?") is enough for most vendors. The majority of small and mid-size suppliers generate invoices digitally already and can switch to email delivery without any additional cost or effort.
Set up a dedicated invoice receipt email address. Having a single point of entry for all supplier invoices, digital and scanned, creates a centralized intake queue. Forward digital PDF attachments directly to your extraction workflow, and upload scanned files from paper invoices through the same tool. A unified input point makes it easier to build a processing habit and ensures invoices are not missed in personal inboxes.
For any vendor that truly cannot send digital invoices (very small or informal suppliers, handwritten invoice situations), establish a weekly scanning session rather than scanning reactively. Collect paper invoices in a dedicated folder throughout the week and batch-scan them all in a single session. Pair this with a Smart Projects batch run to complete the extraction step in one operation.
Frequently Asked Questions
What is invoice scanning?
Invoice scanning is converting a paper invoice into a digital file, usually a PDF or image, with a scanner or phone app. On its own a scan is just a picture of the page; pairing it with AI extraction turns that file into structured data such as vendor, invoice number, dates, line items, and totals that you can export to Excel or CSV.
Can I scan invoices with my phone?
Yes, a modern phone with a scanning app such as Adobe Scan, Microsoft Lens, or the iPhone's built-in scanner produces files that AI extraction reads reliably. Keep the invoice flat, use even light, capture the whole page, and avoid shadows. In Invoscope, save the scan as a PDF for Quick Analyze, or upload JPG/PNG photos directly to Smart Projects.
What resolution should I scan invoices at?
Scan invoices at 300 dpi in color or grayscale. That resolution keeps small print and table lines sharp while keeping files light; use 400 dpi only for very small fonts or faded thermal paper, and avoid black-and-white (1-bit) mode, which loses detail.
Do I need to keep paper invoices after scanning?
It depends on your local tax and record-keeping rules, so check with your accountant before shredding anything. Many tax authorities accept a legible digital copy as the official record, while some require originals for certain documents or set specific retention periods, and those rules vary by country and sometimes by industry.
Related: Invoice Data Extraction: Methods, Tools & Best Practices · Quick Analyze: extract data from any invoice format free · Start free: 10 invoices/month, no credit card required
Related reading: How AI Invoice Extraction Works: No-Template Setup Explained
Related reading: What Is Invoice OCR and How Does It Work in 2026